Max1
Head Chef
For some reason all my pictures have been deleted, or are just not showing up. So I am re-posting this. All the pictures should be visible now.
I got up early this morning to take a friend back to his terminal to get his truck and back on the road.
So I came back home and had nothing to do at 8:00 in the morning.
So I thought to myself, what a better way to pay my neighbors back for the party they had last week that had blaring music until 4:00am than beating the shit out of 55 gallon drum.
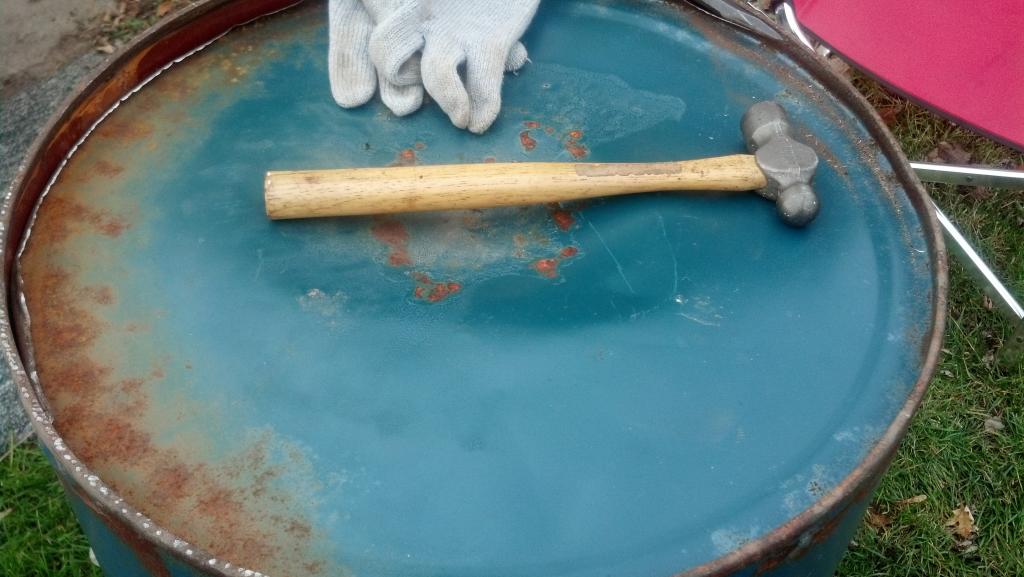
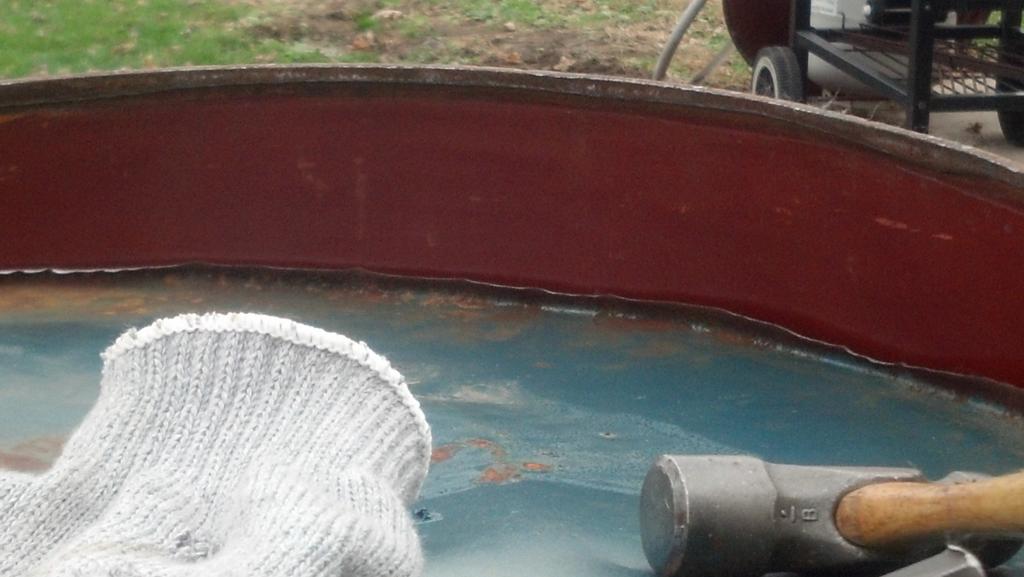
So I got me a cold rolled steel chisel, and a 20 ounce ball hammer and started beating.
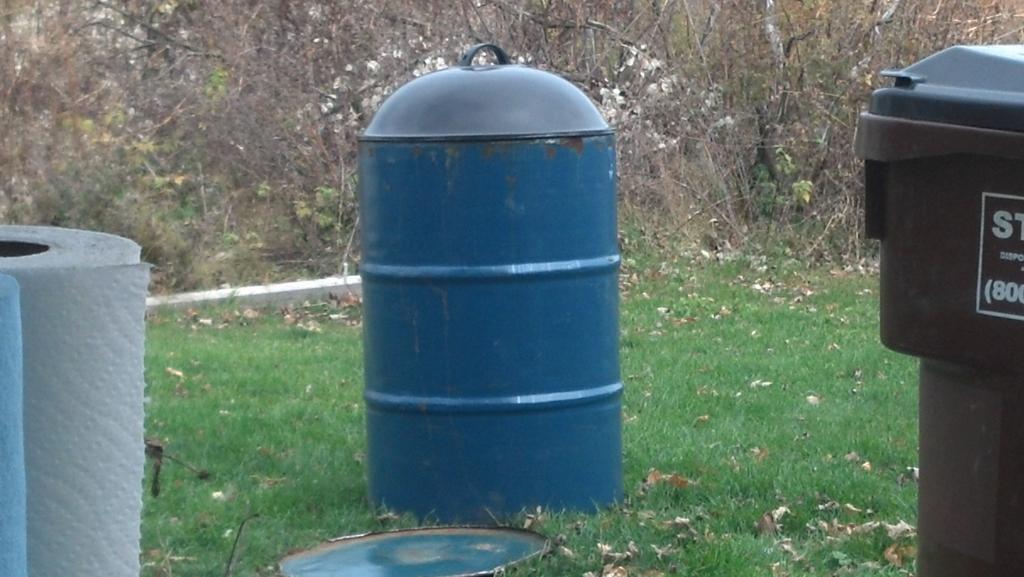
Here I have the 55 gallon drum as a whole.
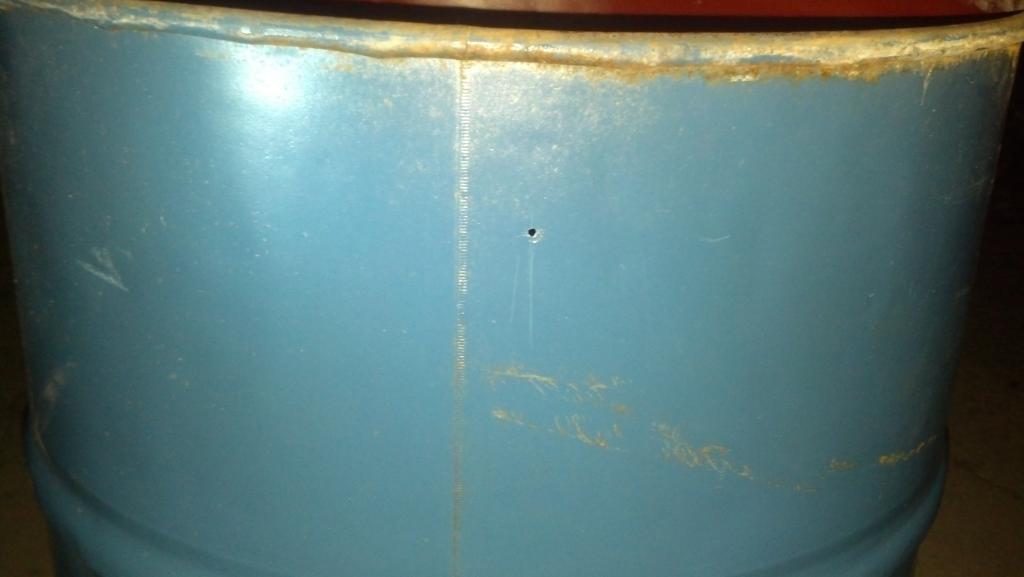
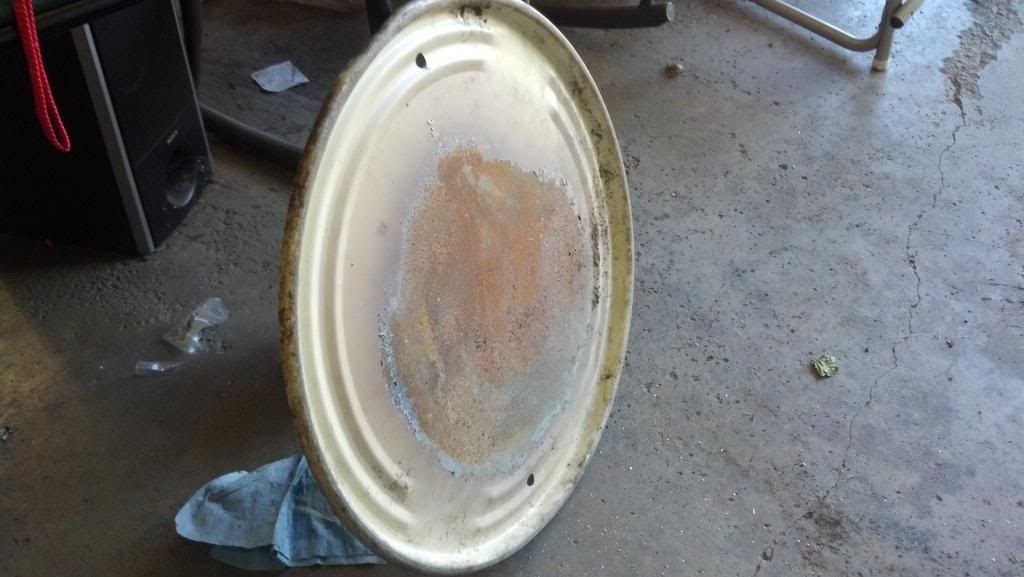
Cutting around the diameter of the bottom. This side is actually the bottom of the drum.

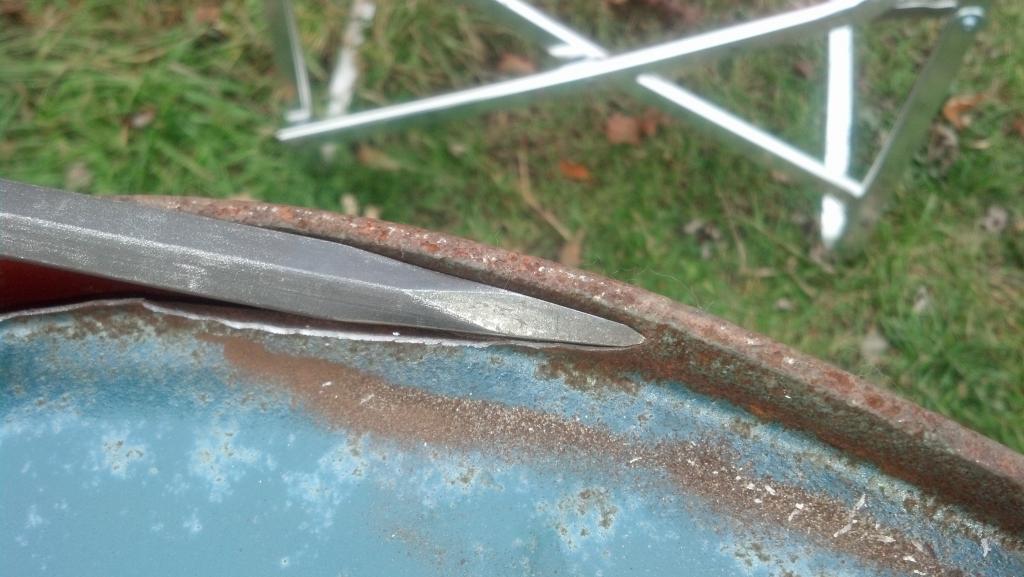
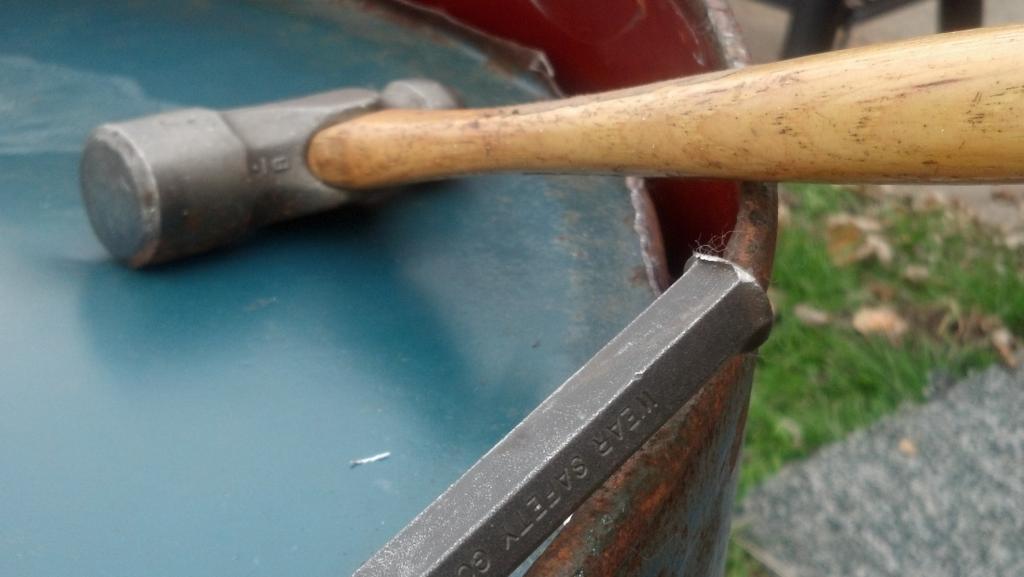
Half way through I needed a break. I have worked in machine shops before, but this was just torture on my hands.
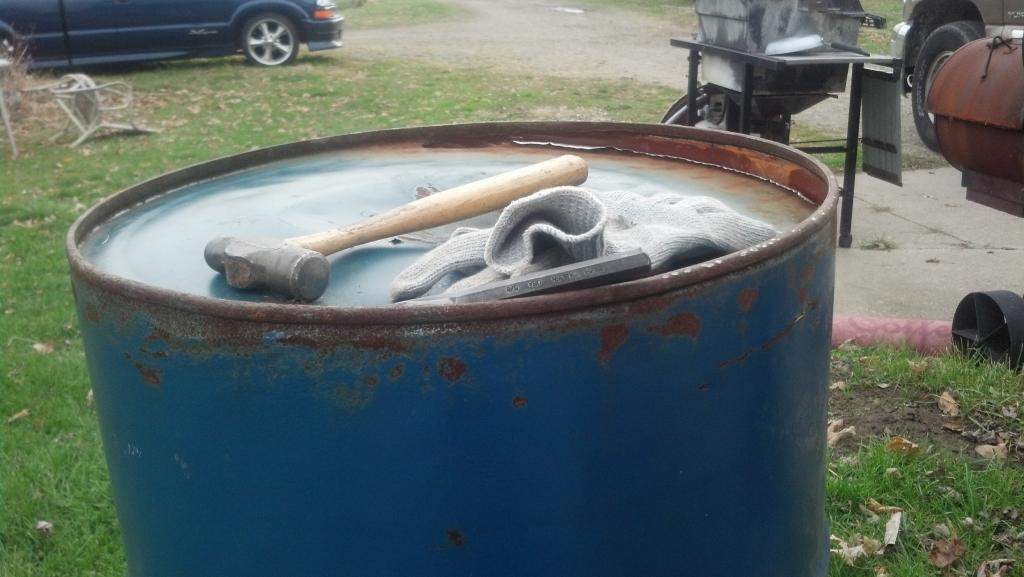
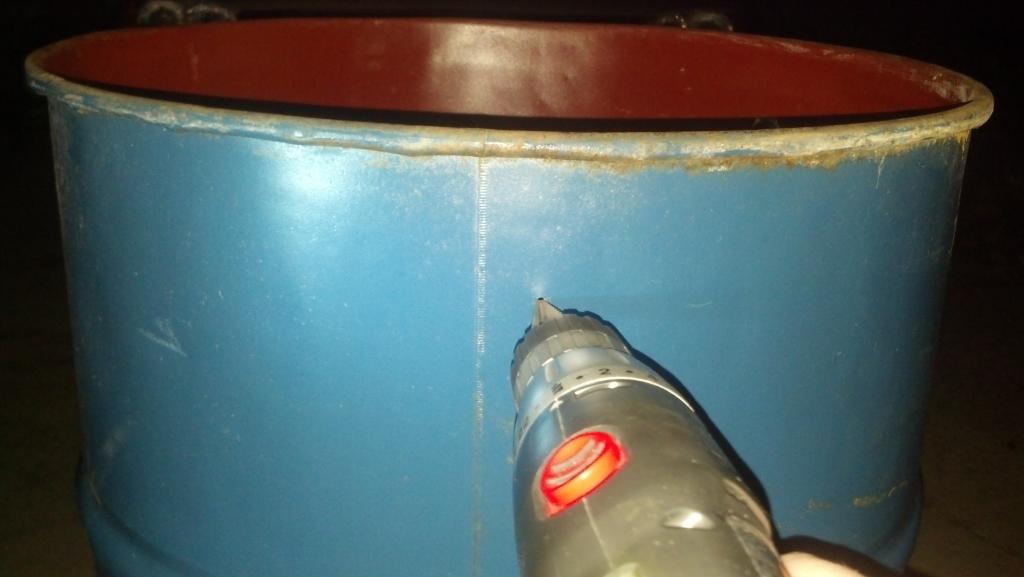
Starting the rest.
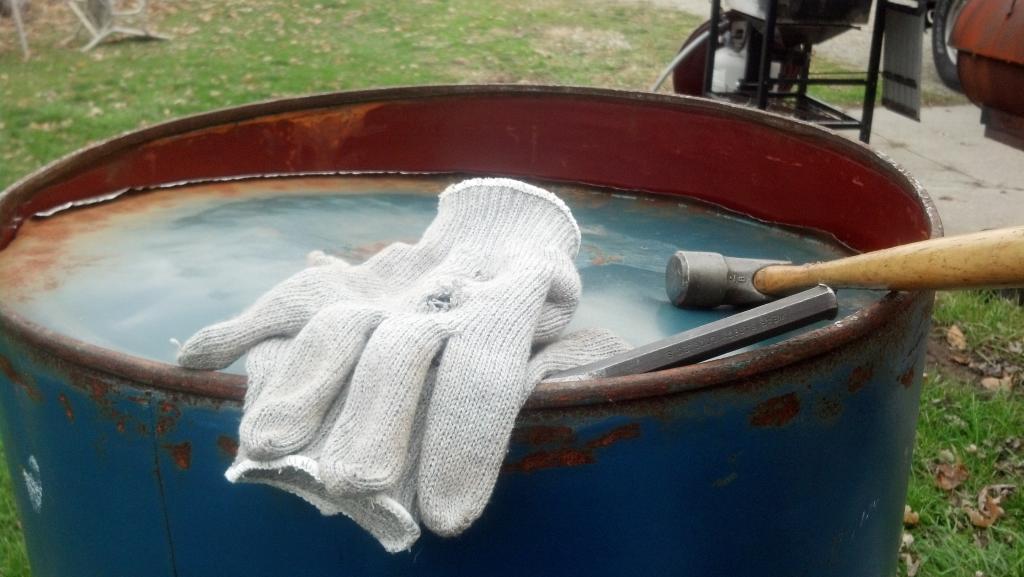
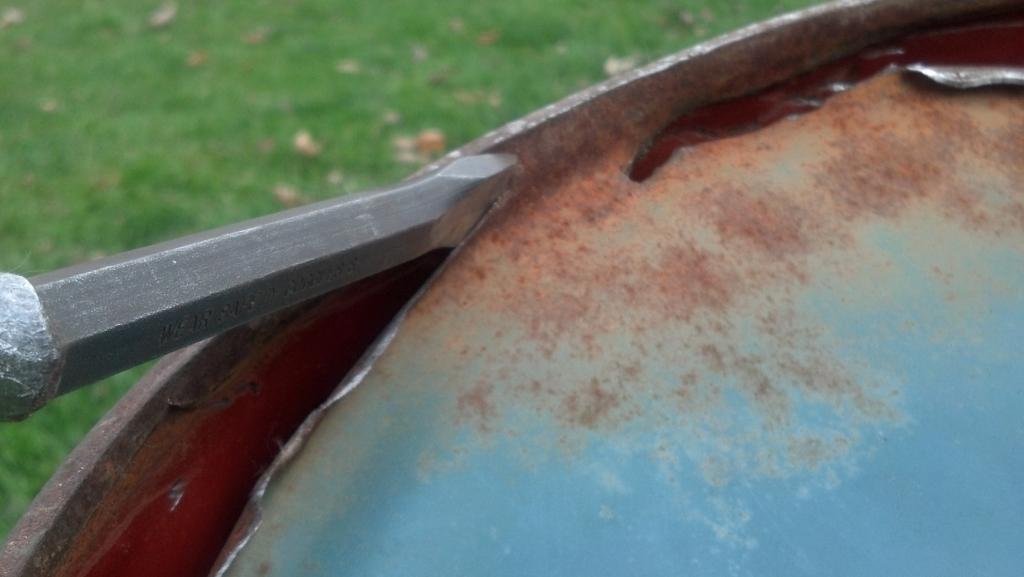
Right at the edge of being done with this part.

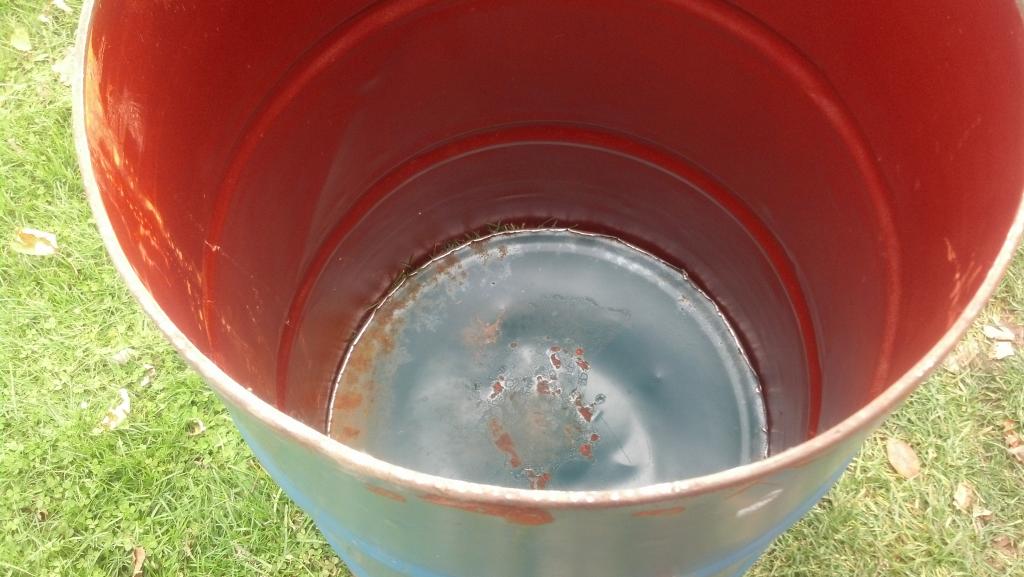
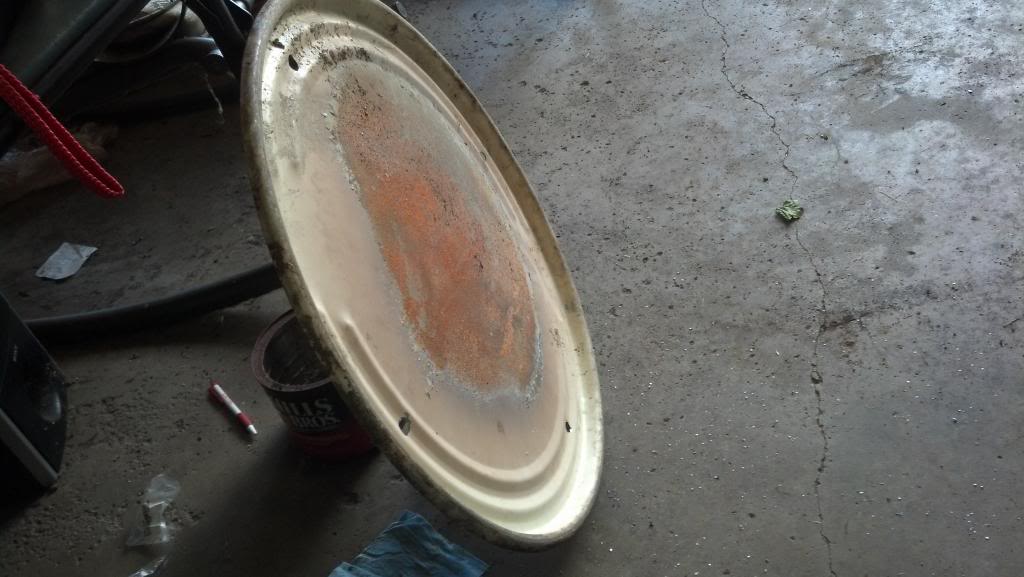
Bottom out and done.
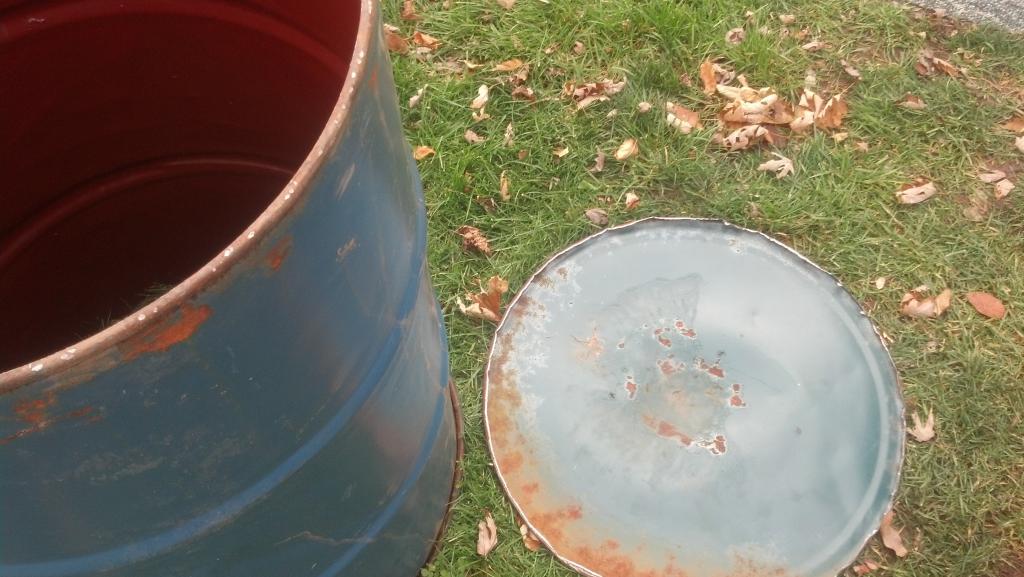
What it is going to look like when complete.
I figured that since the cops had been called and I needed a break anyway, I got a cold pop (soda to the rest of the nation except Michigan and Ohio) and waited for the cops to show up.

Got back started after dinner, and worked until my drills battery died. Now while I am posting this am waiting for it to get charged. :P
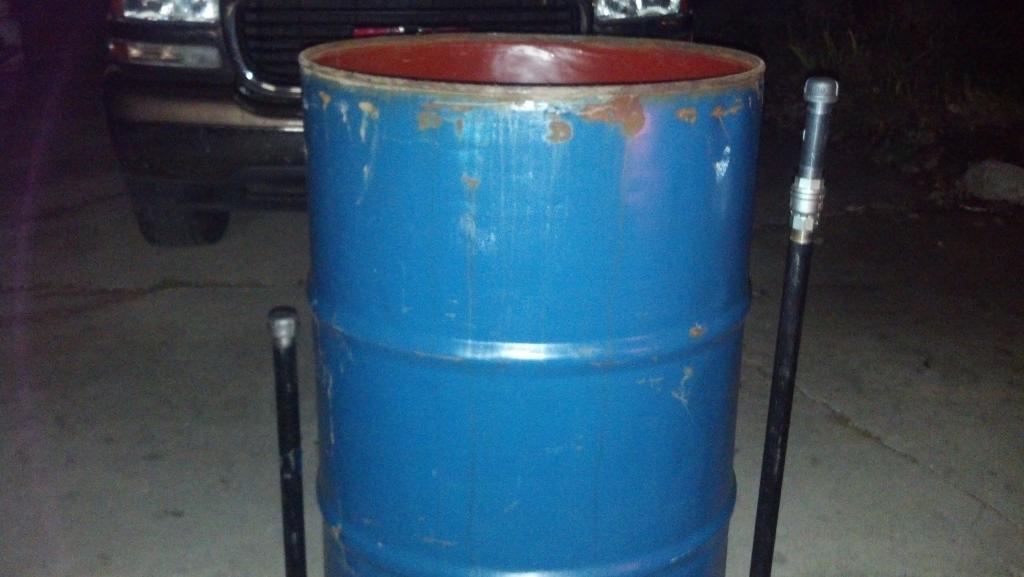
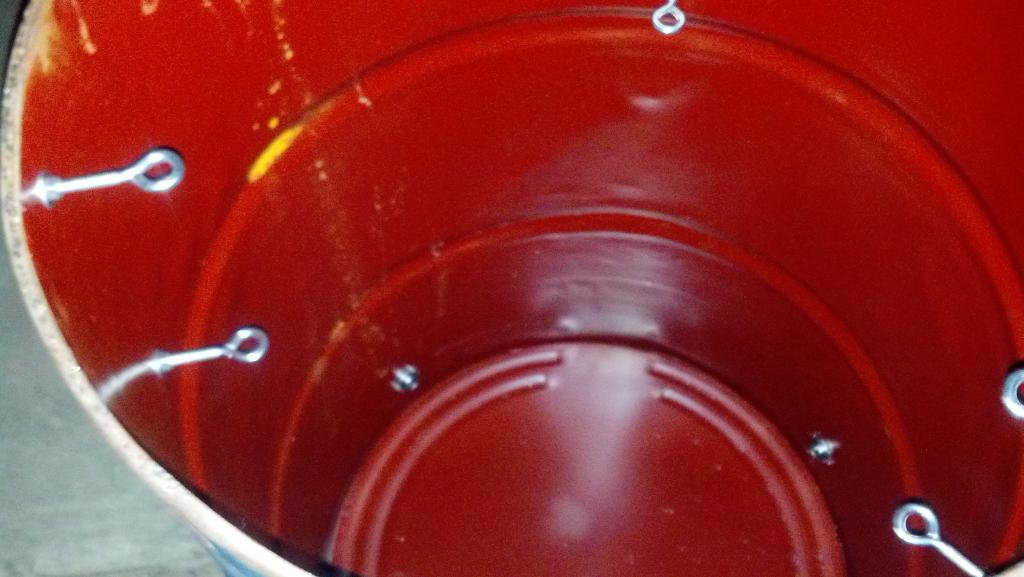
this is how I installed the fittings, air inlets, and grate hangers.
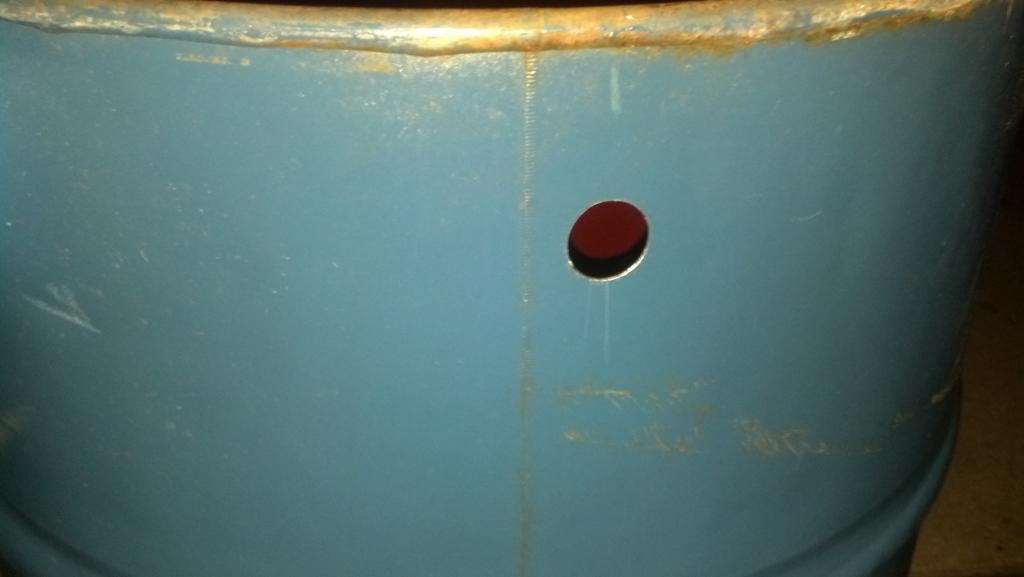
I used 1" OD by 1.5" length threaded steel pipe. This is important, DON NOT use galvanized.
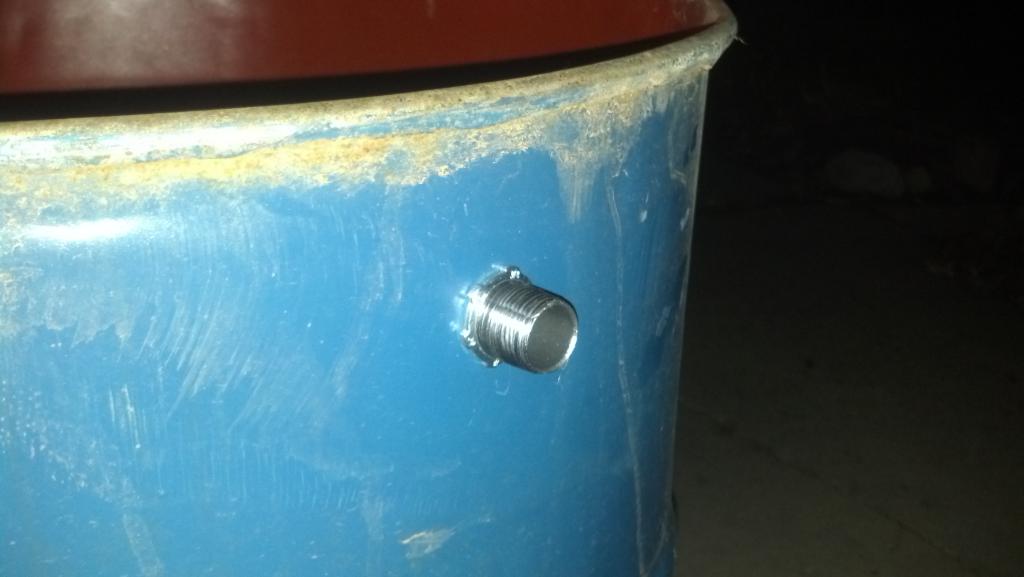
For the nut I used conduit locking washers, there are avalible at Home Depot, or Lowes.
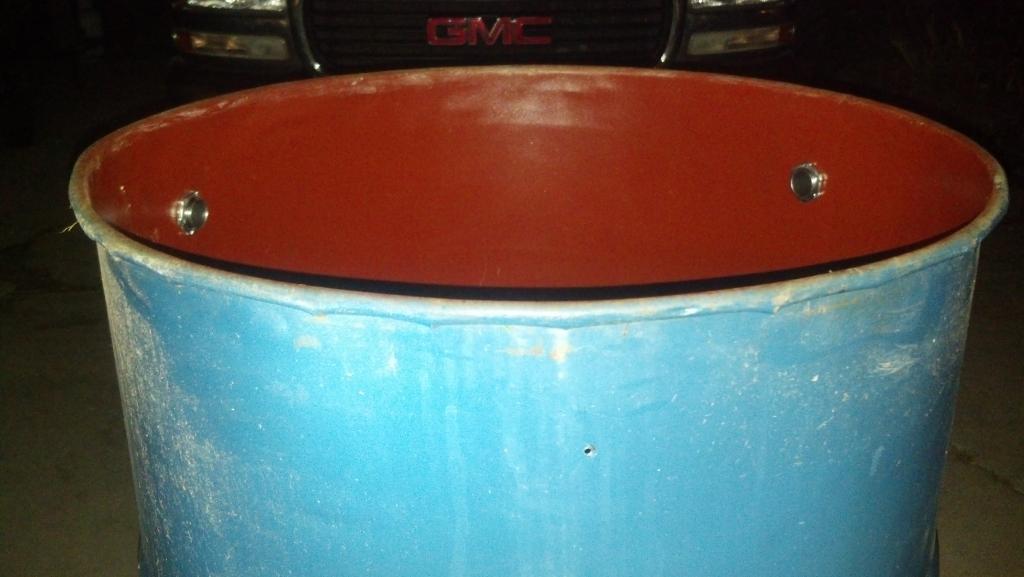
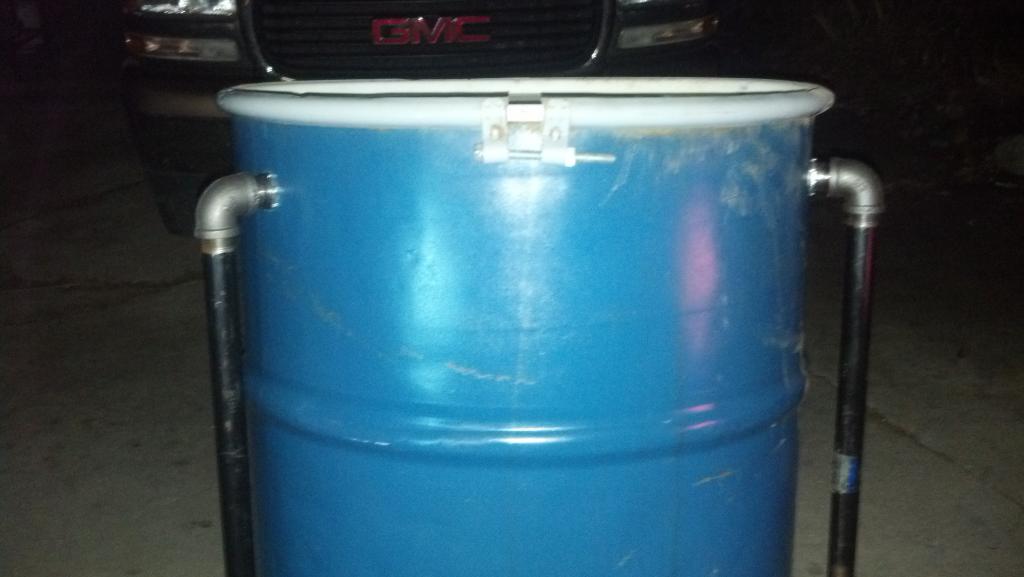
Here is a picture of the new bottom in place, with the air inlets in place.
I have an extremly bad back, I had these pipe extensions cut, so I do not have to bend over. In all honesty you do not have to have them, you can just use the inlets. But this was easier for me, and only cost a few dollars.
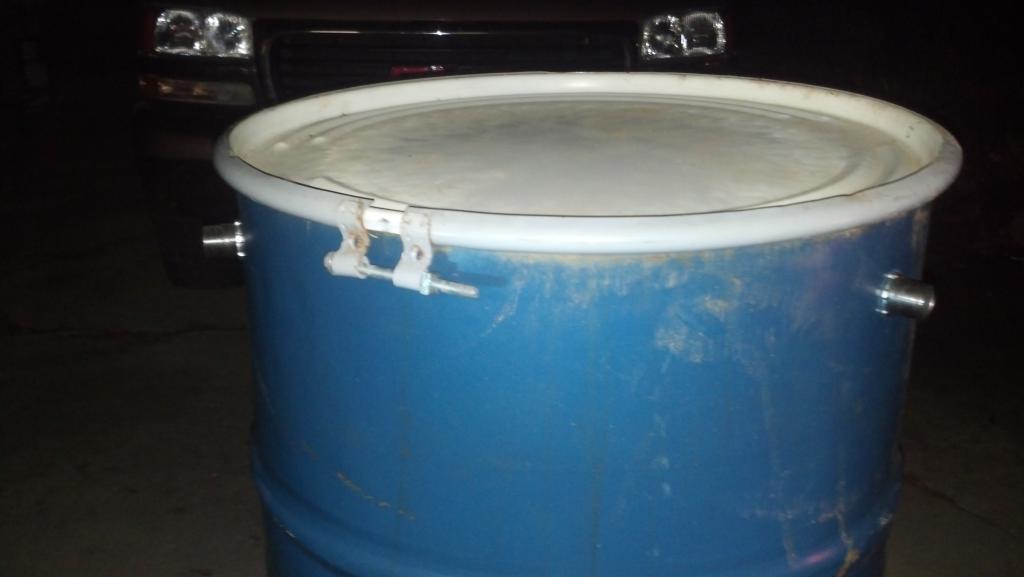
This is right side up.
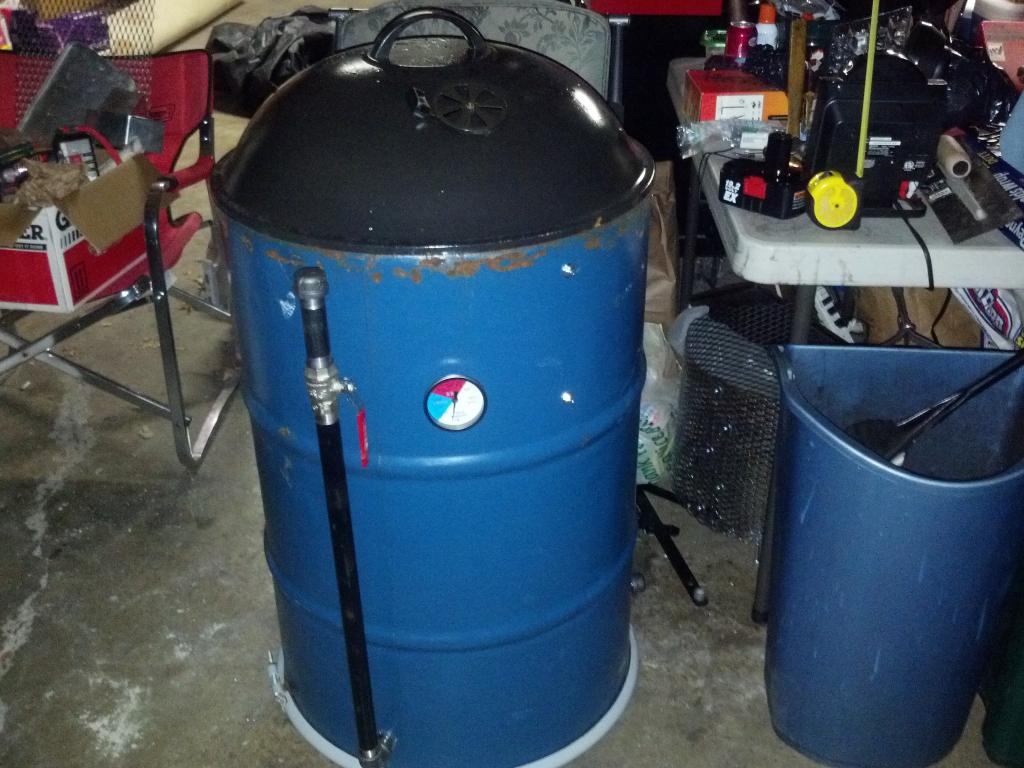
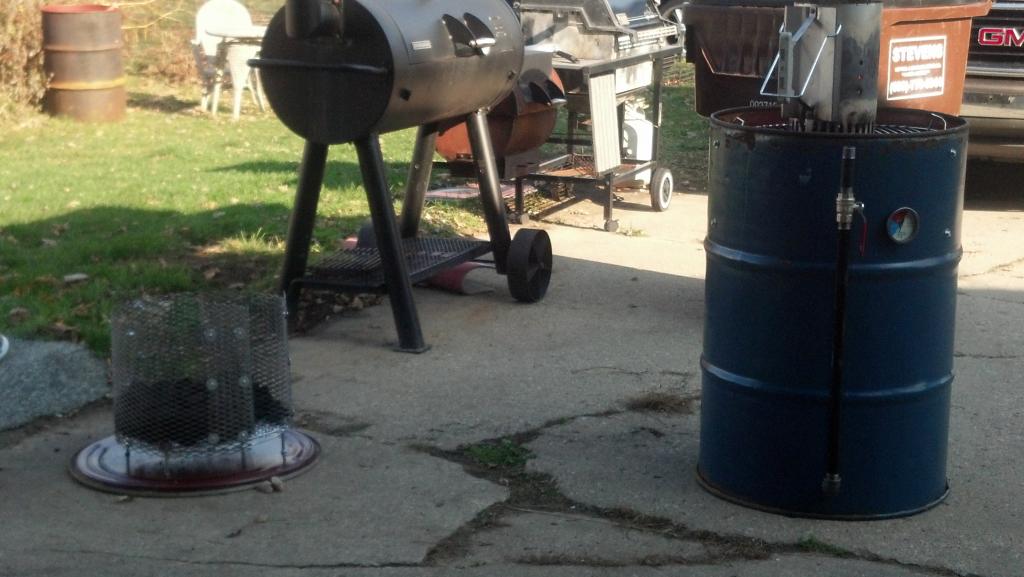
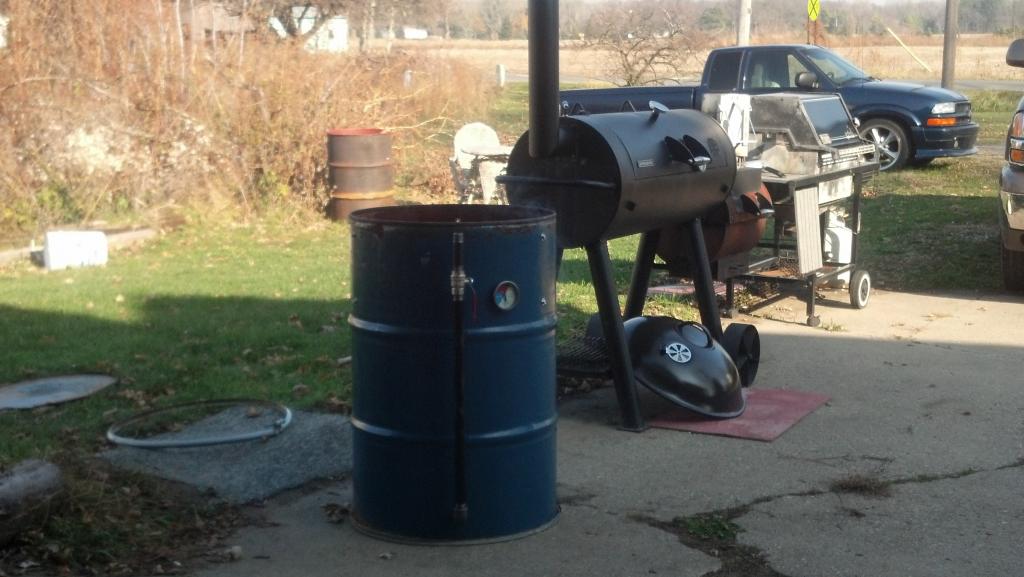
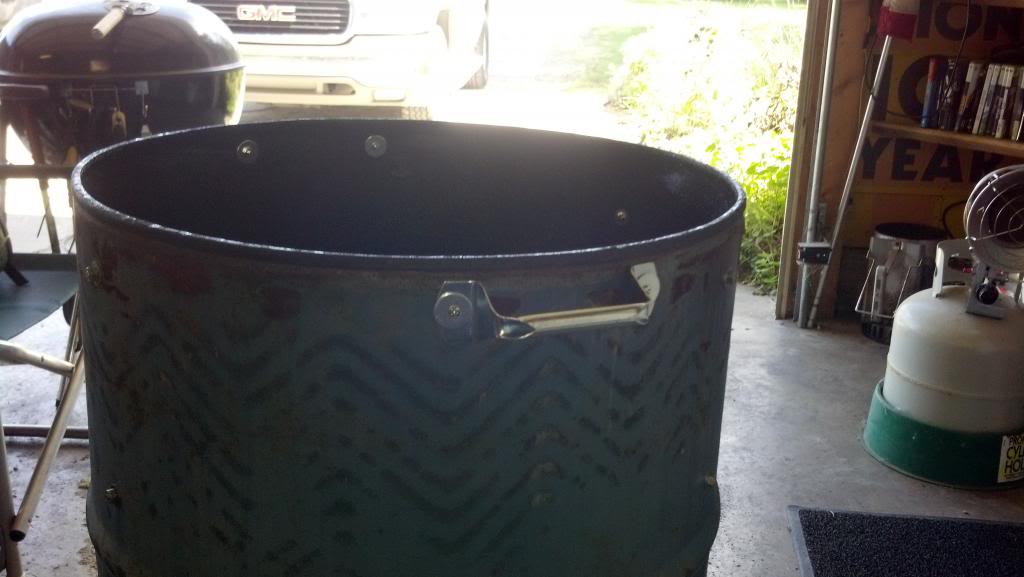
Here is the UDS, with most of the exterior mods done.
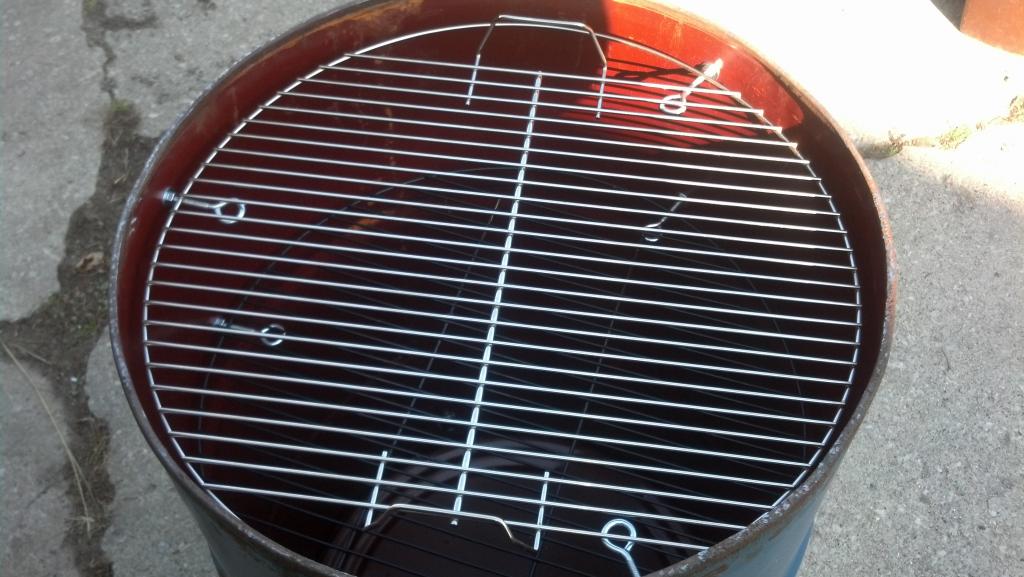
Here is a couple of pictures with the brand new Weber 22.5" grates in place, and the grate hangers.
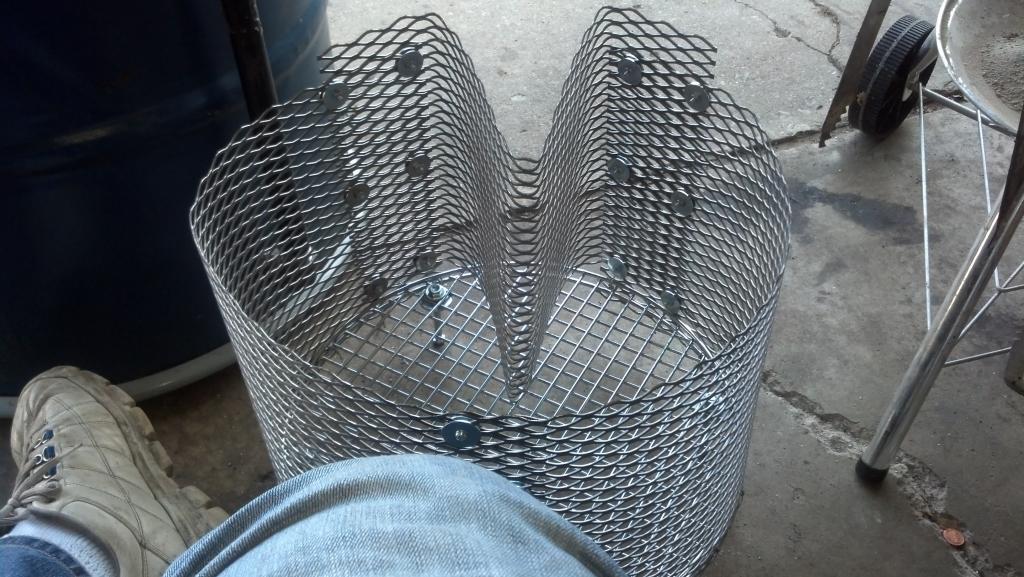
Here is my new charcoal, and wood basket. Built from scratch with 4x 4" bolts, 2x 18" lower charcoal grill grates, and 3x 12" by 24" pieces of expanded steel.
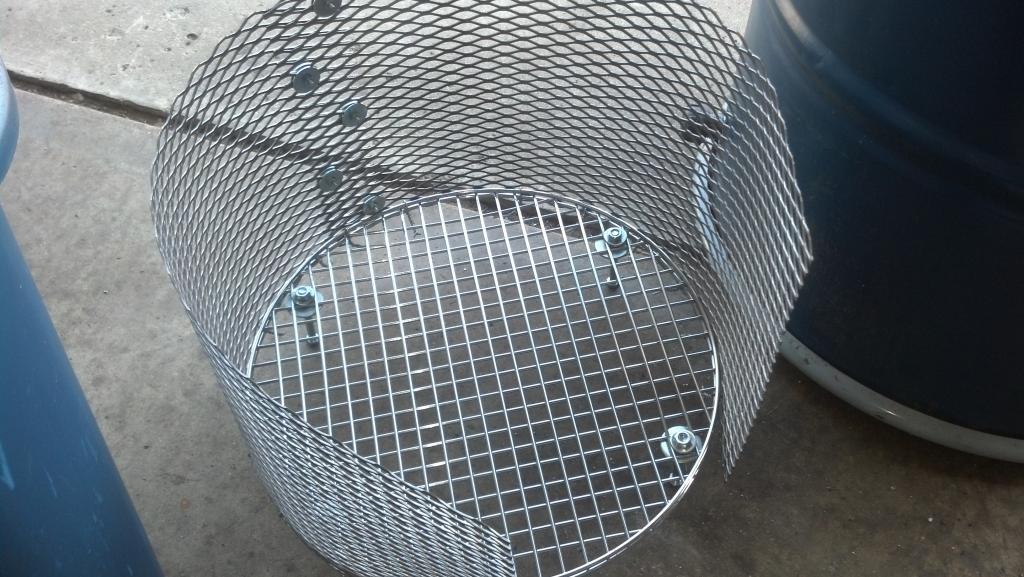
This is the main reason that I flipped the barrel to make this. Ease of use.
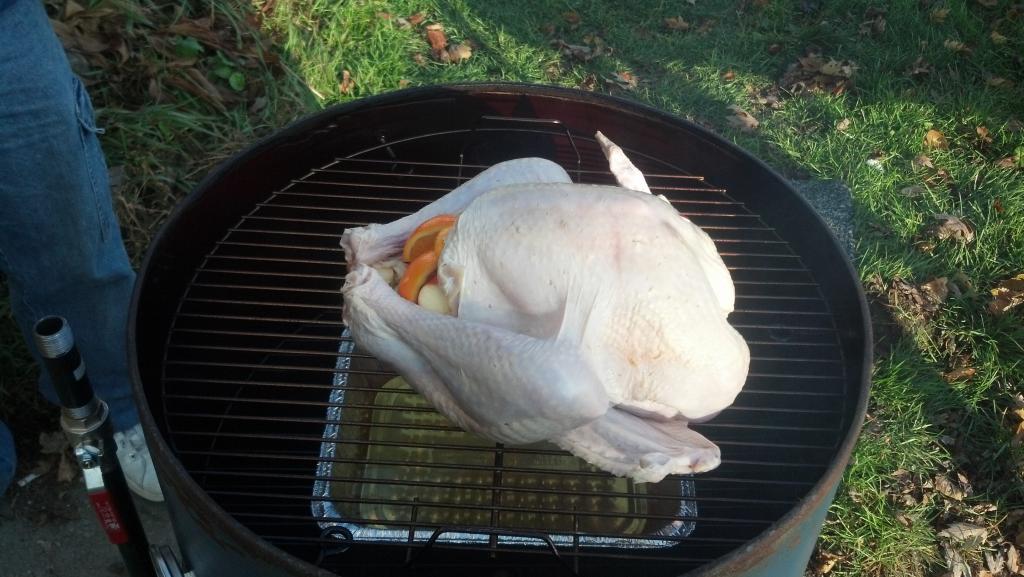
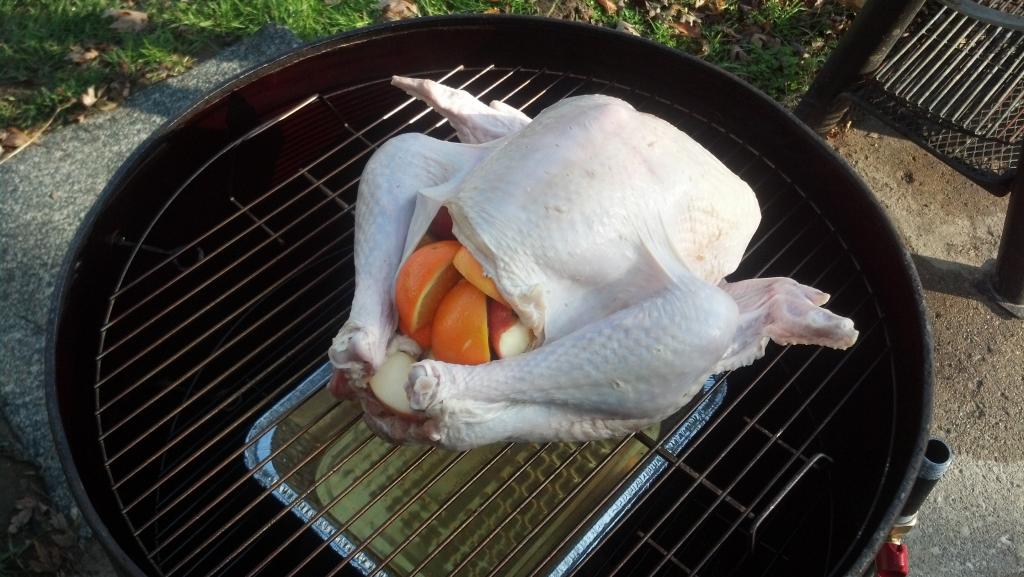
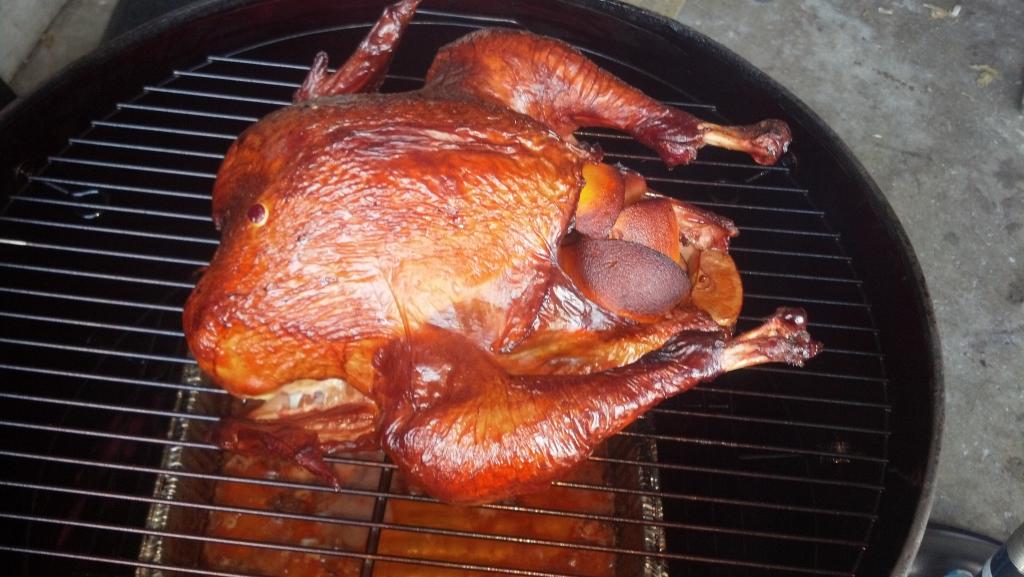
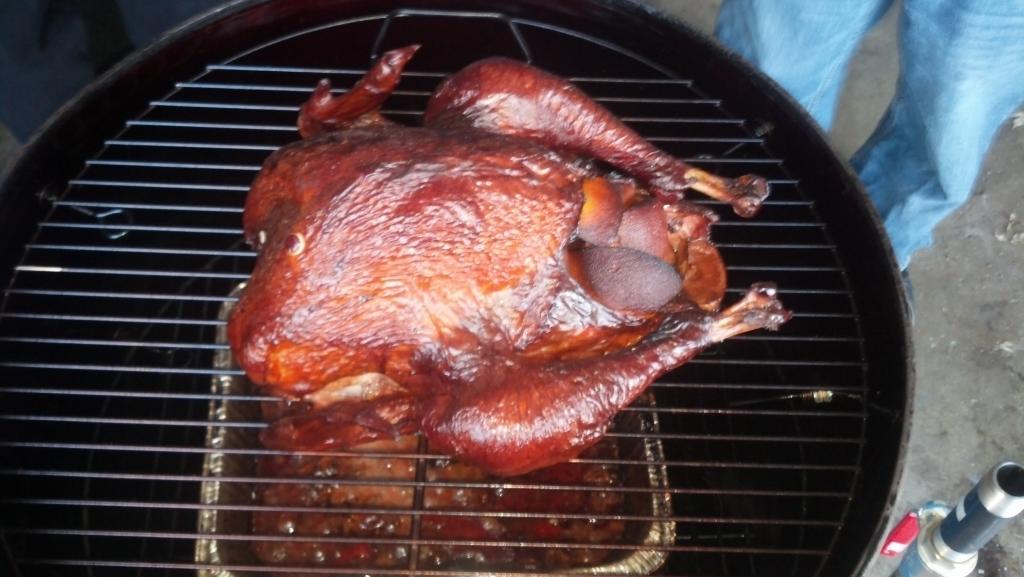
First cook on this was for Thanksgiving in 2013.
A couple of months passed, and I had come up with a few mods that I wanted to do.
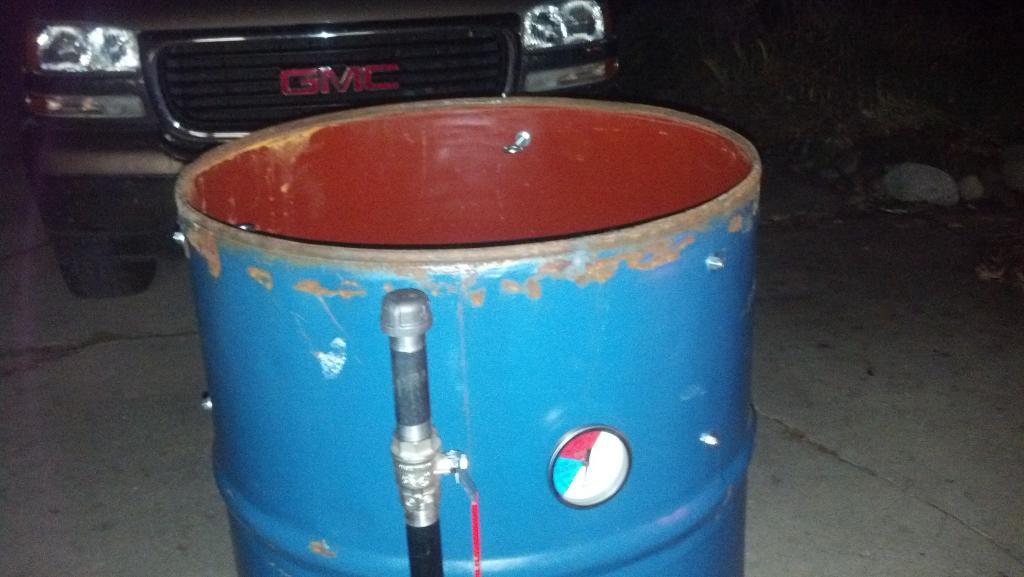
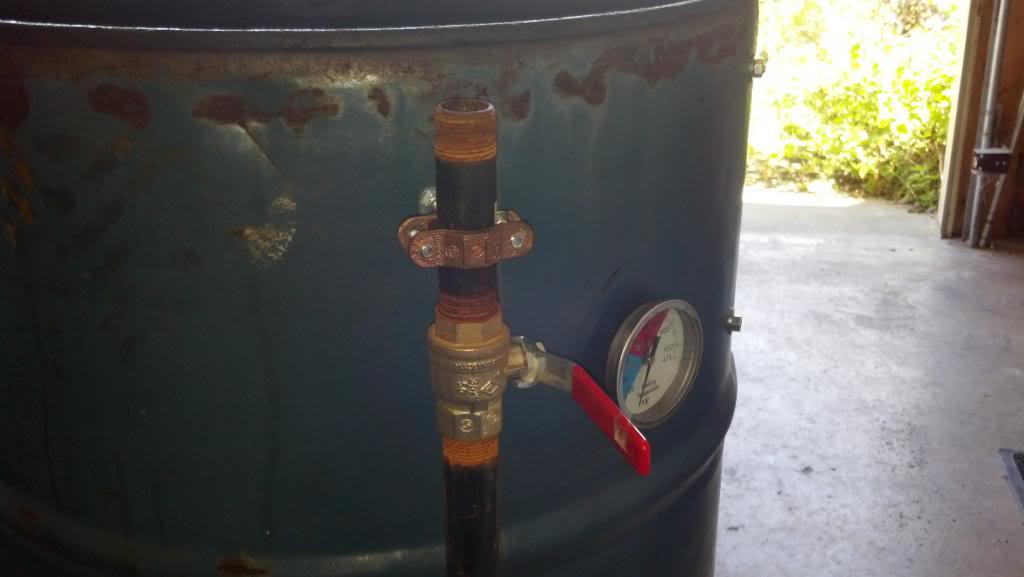
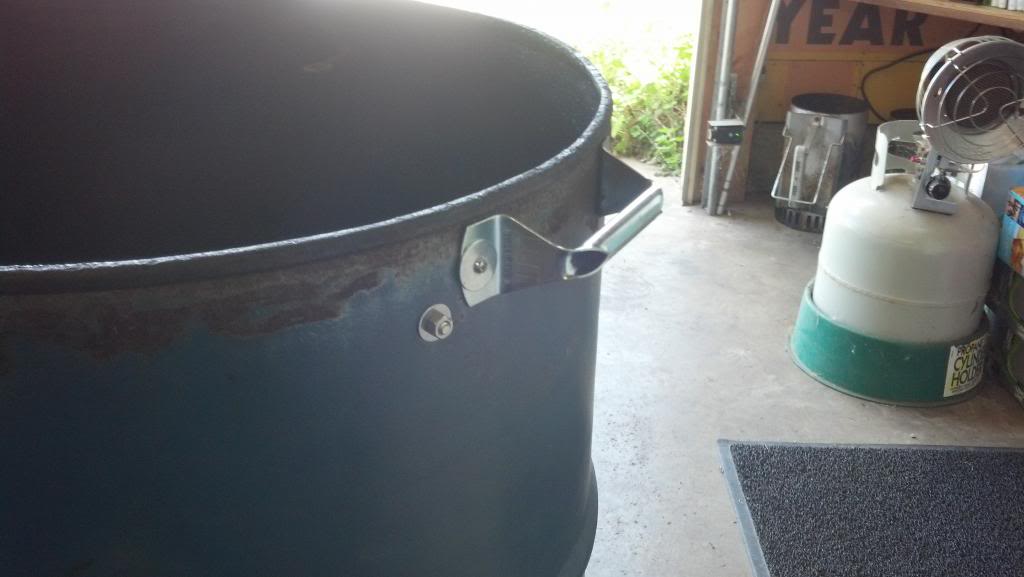
First one was a mounting bracket for my adjustment valve. Everytime someone passed the UDS, they would hit the pipe, and down it went.
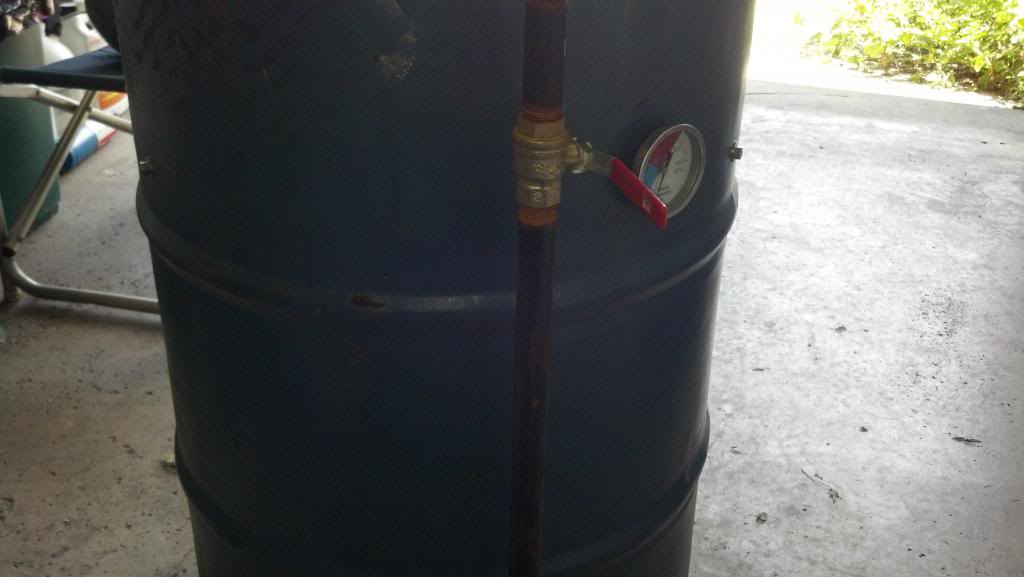
Here it is with the new mounting bracket.
Next was some handles. It is a smoker, and is used at a lower temperature, but it still gets hot.
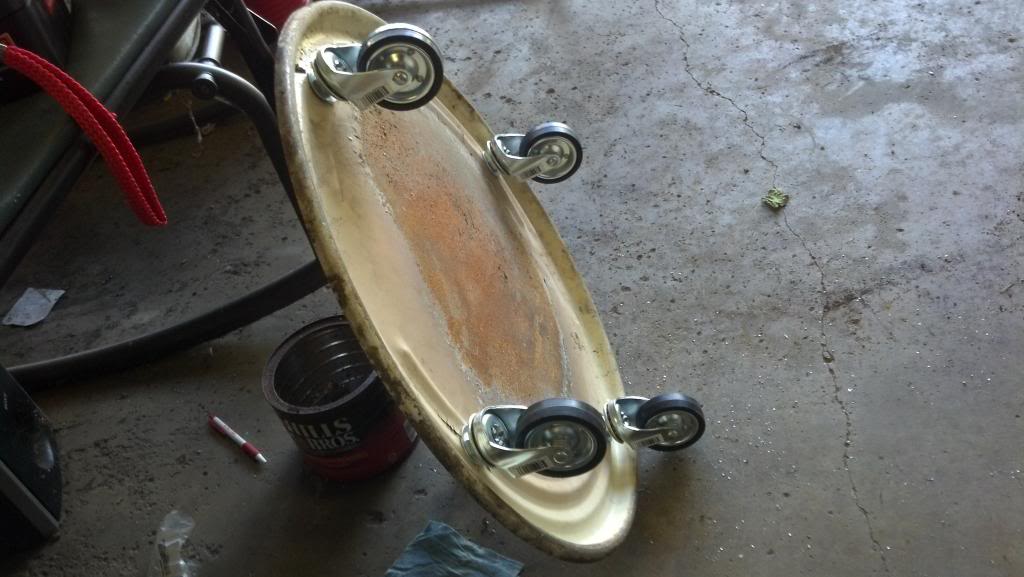
Lastly, I wanted the UDS to be more manuverable, so I installed some casters. I installed 4, wish I had done 6. Don't make the mistake I did, install 6.

I hope my little project helps people out. I had a great time with it.
I got up early this morning to take a friend back to his terminal to get his truck and back on the road.
So I came back home and had nothing to do at 8:00 in the morning.
So I thought to myself, what a better way to pay my neighbors back for the party they had last week that had blaring music until 4:00am than beating the shit out of 55 gallon drum.
So I got me a cold rolled steel chisel, and a 20 ounce ball hammer and started beating.
Here I have the 55 gallon drum as a whole.
Cutting around the diameter of the bottom. This side is actually the bottom of the drum.
Half way through I needed a break. I have worked in machine shops before, but this was just torture on my hands.
Starting the rest.
Right at the edge of being done with this part.
Bottom out and done.
What it is going to look like when complete.
I figured that since the cops had been called and I needed a break anyway, I got a cold pop (soda to the rest of the nation except Michigan and Ohio) and waited for the cops to show up.
Got back started after dinner, and worked until my drills battery died. Now while I am posting this am waiting for it to get charged. :P
this is how I installed the fittings, air inlets, and grate hangers.
I used 1" OD by 1.5" length threaded steel pipe. This is important, DON NOT use galvanized.
For the nut I used conduit locking washers, there are avalible at Home Depot, or Lowes.
Here is a picture of the new bottom in place, with the air inlets in place.
I have an extremly bad back, I had these pipe extensions cut, so I do not have to bend over. In all honesty you do not have to have them, you can just use the inlets. But this was easier for me, and only cost a few dollars.
This is right side up.
Here is the UDS, with most of the exterior mods done.
Here is a couple of pictures with the brand new Weber 22.5" grates in place, and the grate hangers.
Here is my new charcoal, and wood basket. Built from scratch with 4x 4" bolts, 2x 18" lower charcoal grill grates, and 3x 12" by 24" pieces of expanded steel.
This is the main reason that I flipped the barrel to make this. Ease of use.
First cook on this was for Thanksgiving in 2013.
A couple of months passed, and I had come up with a few mods that I wanted to do.
First one was a mounting bracket for my adjustment valve. Everytime someone passed the UDS, they would hit the pipe, and down it went.
Here it is with the new mounting bracket.
Next was some handles. It is a smoker, and is used at a lower temperature, but it still gets hot.
Lastly, I wanted the UDS to be more manuverable, so I installed some casters. I installed 4, wish I had done 6. Don't make the mistake I did, install 6.
I hope my little project helps people out. I had a great time with it.