Steve Kroll
Wine Guy
I've come to the conclusion that sausage making is one of those things that, no matter what you say or how you say it, it always somehow comes out sounding kinda dirty. 
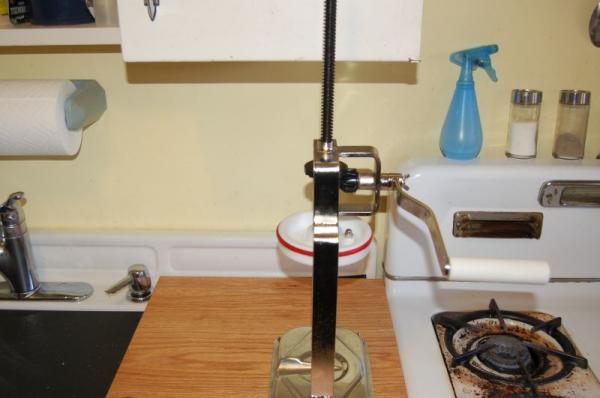
I did countersink the mounting holes underneath. That will have the threads up and I have wing nuts to make it all easy to assemble/disassemble.
I have some black spongy rolled stuff I got in the shelf paper aisle at Lowes that I use for nonslip that works pretty well.
I made the plywood just the right size that it wedges between the stove lip and the soap dispenser. It goes back to the backsplash and right to the front edge. I think I will be able to use my hip to help keep it from moving as well.
I can also get the clamps out and use them for the plywood. I do have to take a drawer out, but there is nothing in that drawer I would use during sausage making.

You weren't surprised I knew the term "countersink"?
Only a tall person would consider using their hip to stabilize something on a countertop...never occurred to me...I'd have to use something else
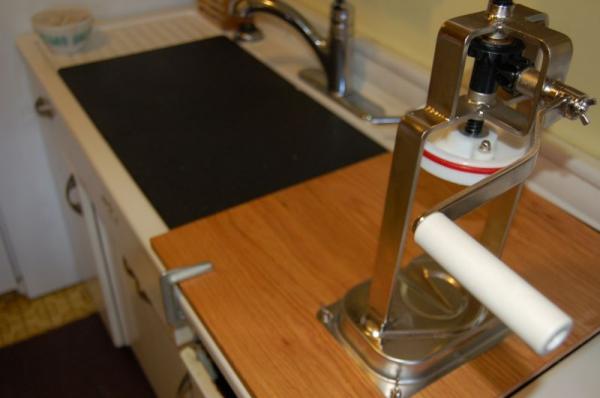


I almost bought one when I was in MN but was already having an issue with the amount of luggage I was going to have coming back (finally, the last leg of my jaunt will take place next week and I'm driving!). But, it is on my wish list for when I drive out in the summer...I'm anxious to hear what you think of it!Before using the stuffer one of my concerns is how to keep it from moving all over the place. It comes with clamps, but our counter doesn't make that as an attractive an option as it could be.
I decided I needed figure out a way to bolt it down without putting holes in the counter at the sink.
Today I bought a 2x2 sheet of oak plywood. I have been looking at various options and some of my ideas got very spendy. The plywood was reasonable. I also picked up two more cutting boards. We use one of these as an insert on one side of the sink since it has grooves and we need flat. (Kathleen's idea and it has worked wonderfully). With the way the sink is made these will sit in a groove over the sink and give me a long flat surface, with the cut down plywood base under the stuffer. This all sounds good in theory, so tomorrow I am going to try it out.
Once the plywood was cut down and drilled for the mounting holes I washed it in the sink and now have some mineral oil on it. Works for cutting boards, hopefully it works for this. If need be I can lay out some wax paper or wrap it in plastic wrap.
I will take some pictures tomorrow of the set up and report back with how it works.
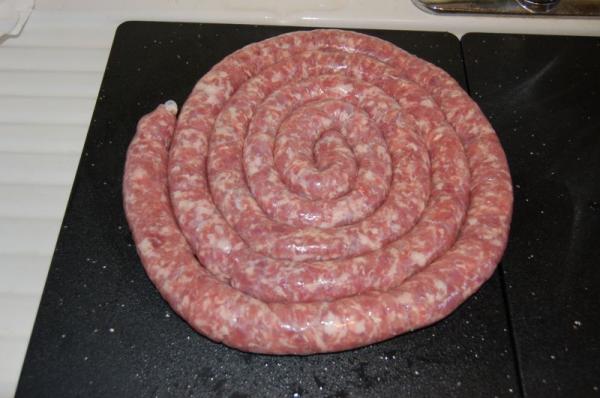
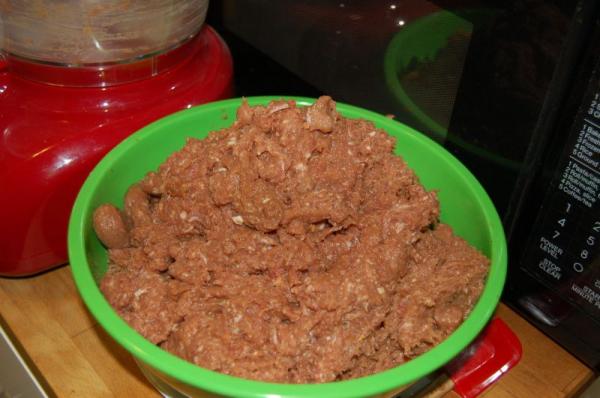
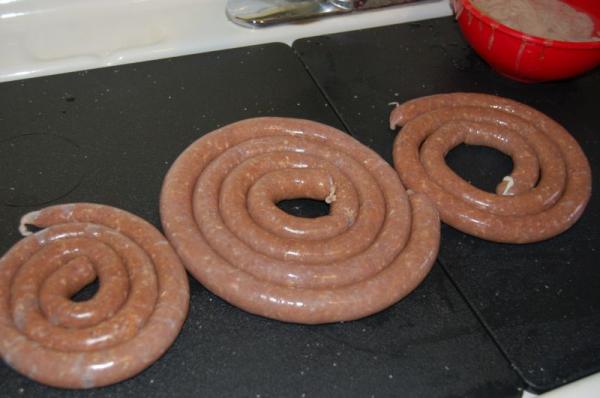
Kathleen wanted kielbasa so I have about 10 pounds of pork shoulder cut and ready for the grinder tomorrow. I have hog casings in the fridge. I plan on having kielbasa and sauerkraut (from the crock in the basement) on Monday when she gets back from seeing her Mom. Don't tell... it is a surprise.
I almost bought one when I was in MN but was already having an issue with the amount of luggage I was going to have coming back (finally, the last leg of my jaunt will take place next week and I'm driving!). But, it is on my wish list for when I drive out in the summer...I'm anxious to hear what you think of it!
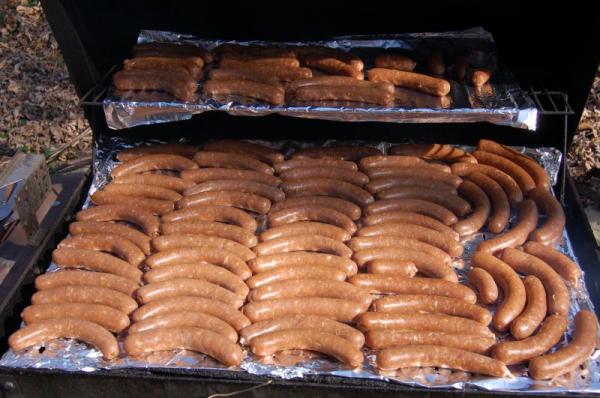
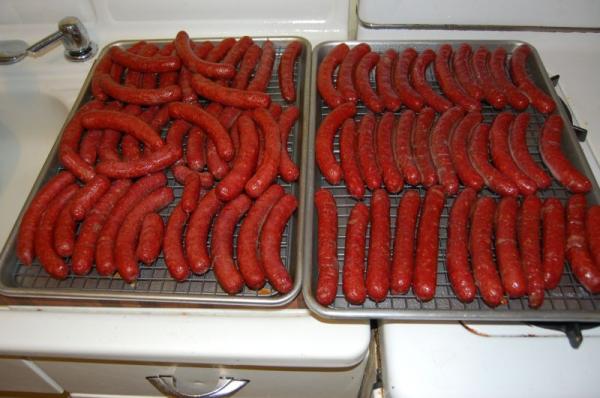
Cool, but do they plump when you cook them?
They look fantastic!
No... they are made from real meat...
Thanks.
They look amazing. If I lived closer, I'd come over and beg for one. Have you made them before?